Secure IMAP / SMTP with MacOS Mail
Follow this 10-step guide to set up Mail on MacOS with Secure IMAP and SMTP.
First, download the Apple Mail Auto Configuration Profile (a file named neomailbox.mobileconfig) from the Neomailbox Control Panel of the account you want to set up in Mail. Save it to the Downloads folder on your Mac.
Quit Mail before starting the installation procedure.
Select "System Settings" under the Apple icon on the Menu Bar (at the top left of the screen). The System Settings window will appear.
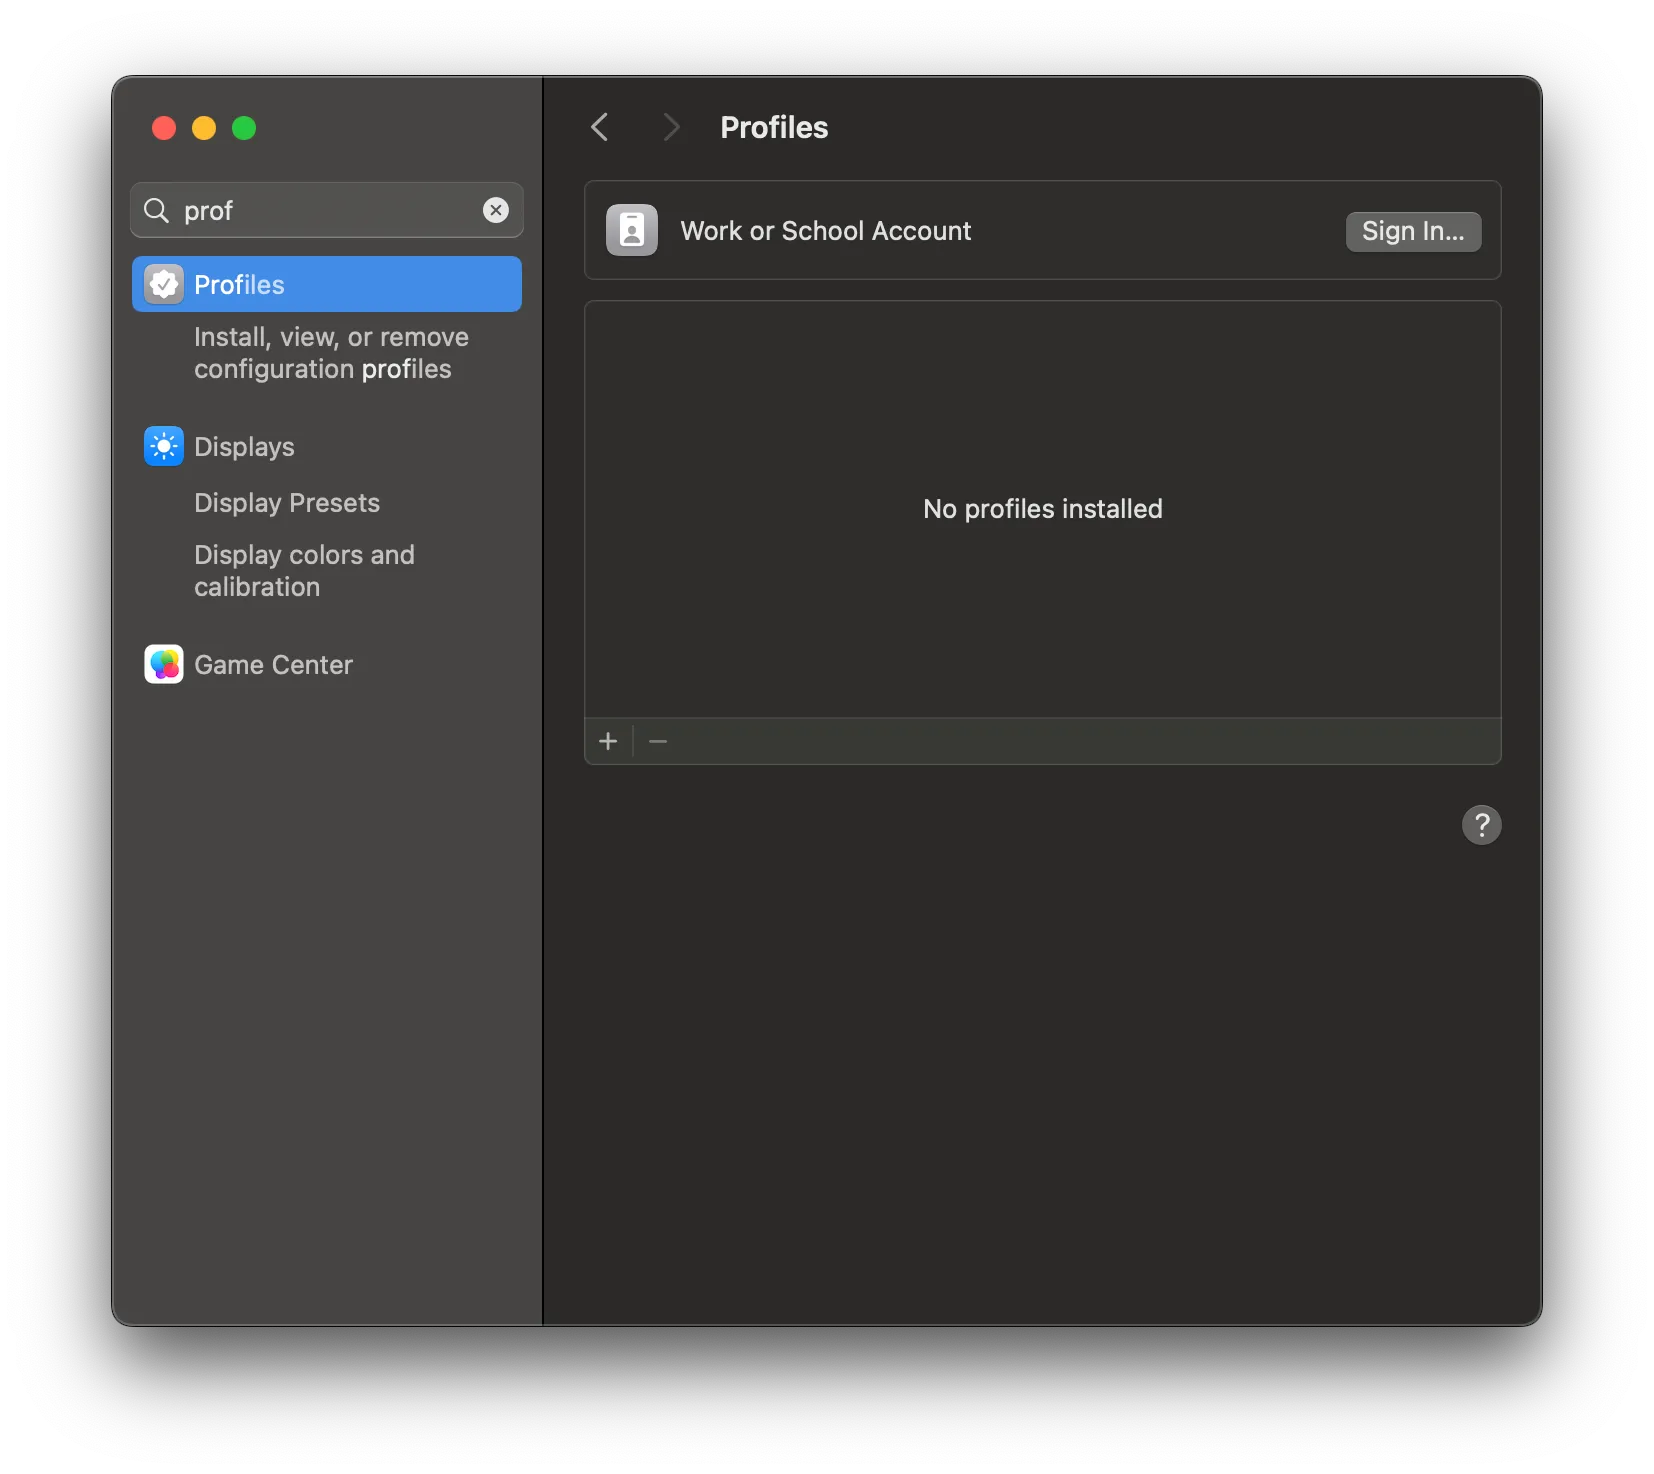
In the search field at the top left of the Settings window, type in "prof".

A "Profiles" item will appear below the search field. Click on it.
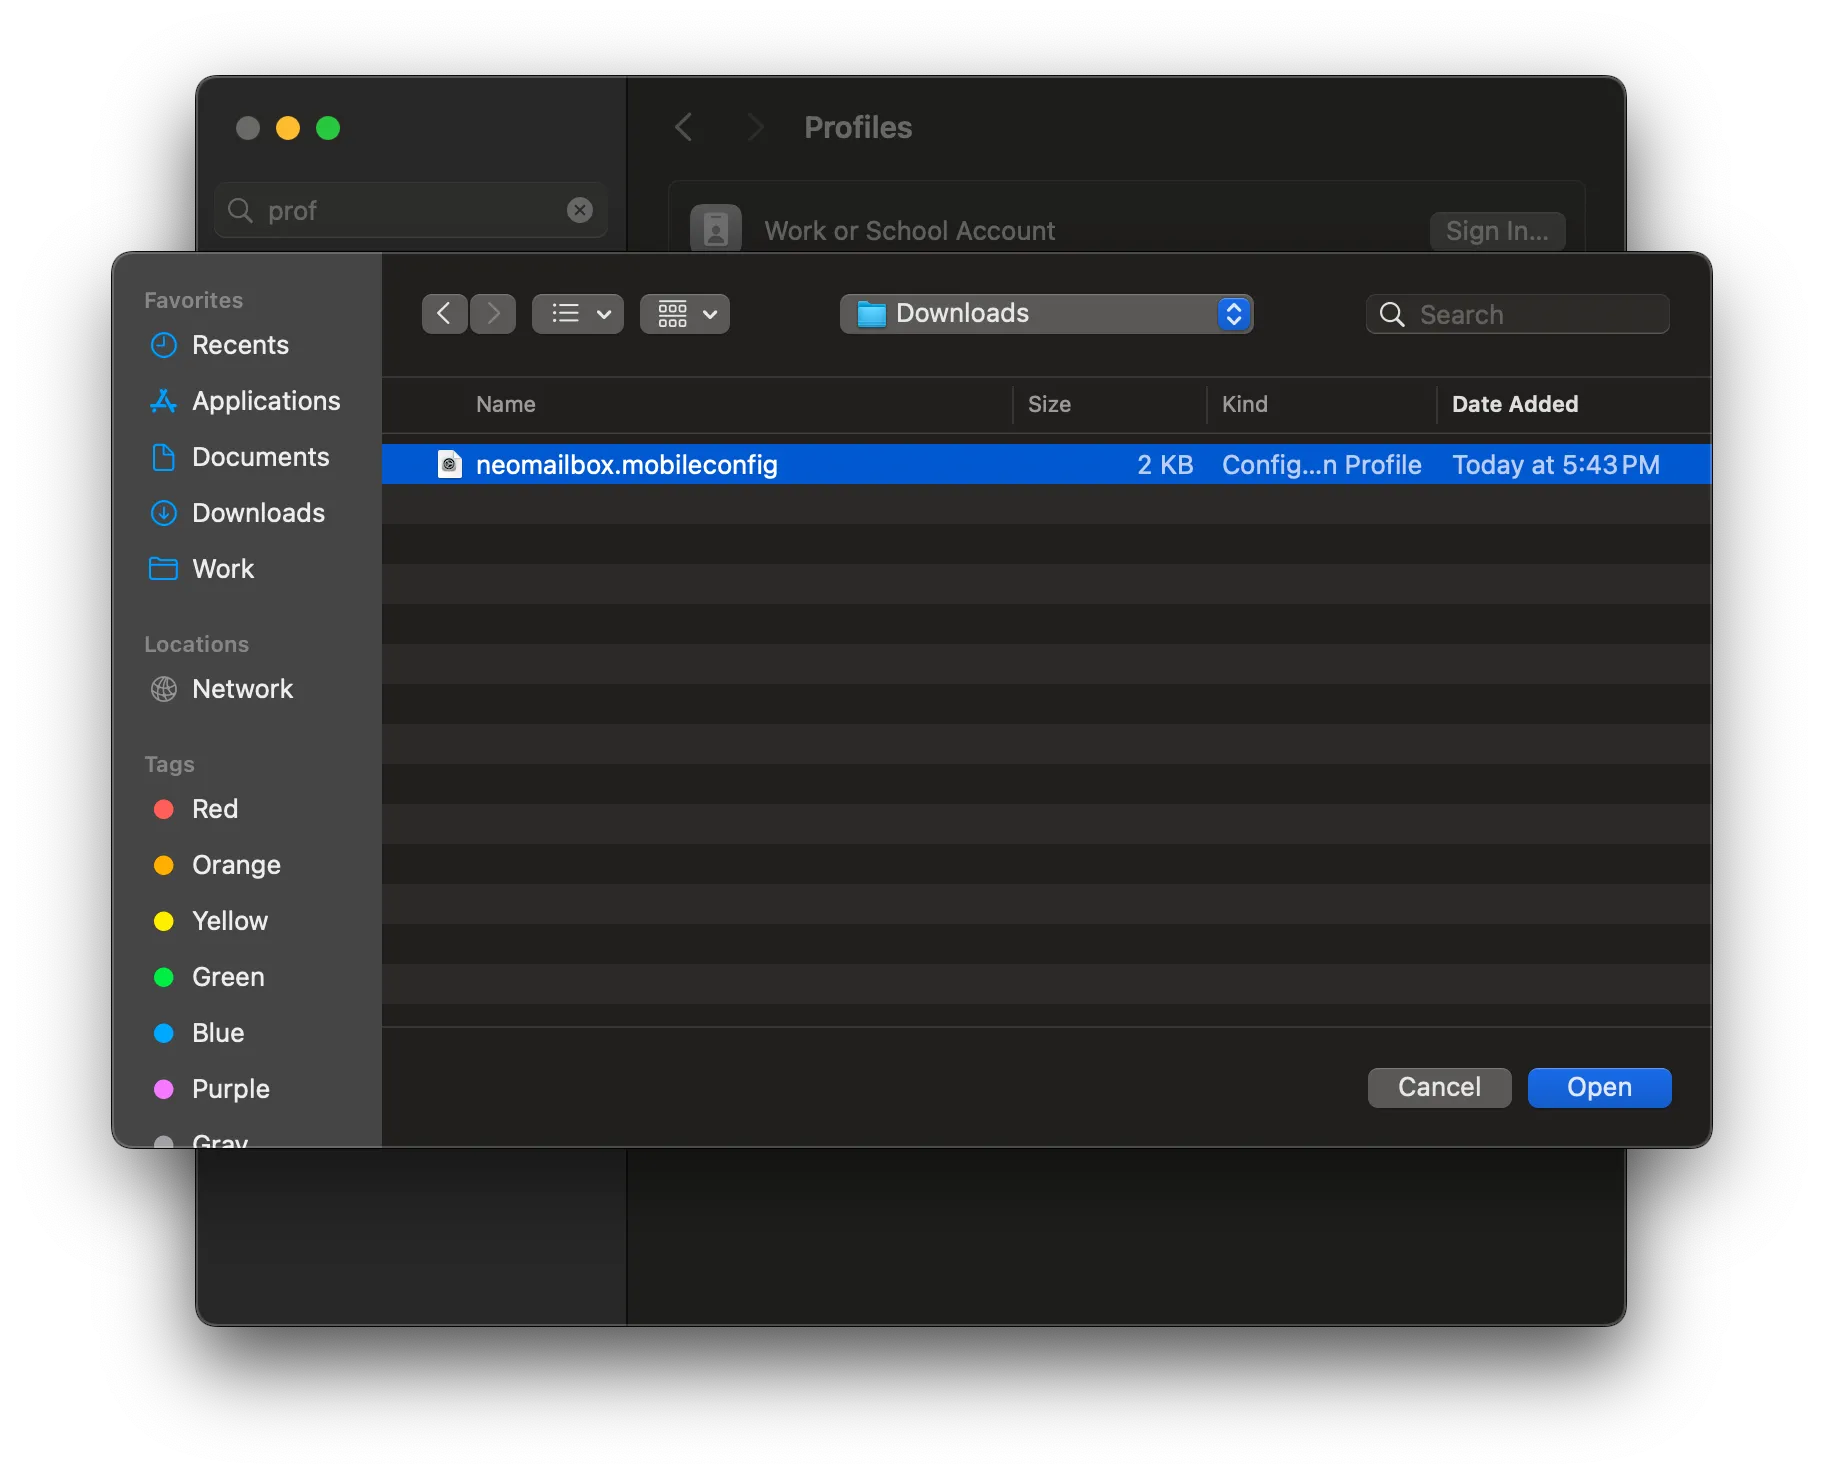
Click the '+' sign in the Profiles pane. A file selection dialog will appear. Select the neomailbox.mobileconfig file you downloaded above, then click Open.
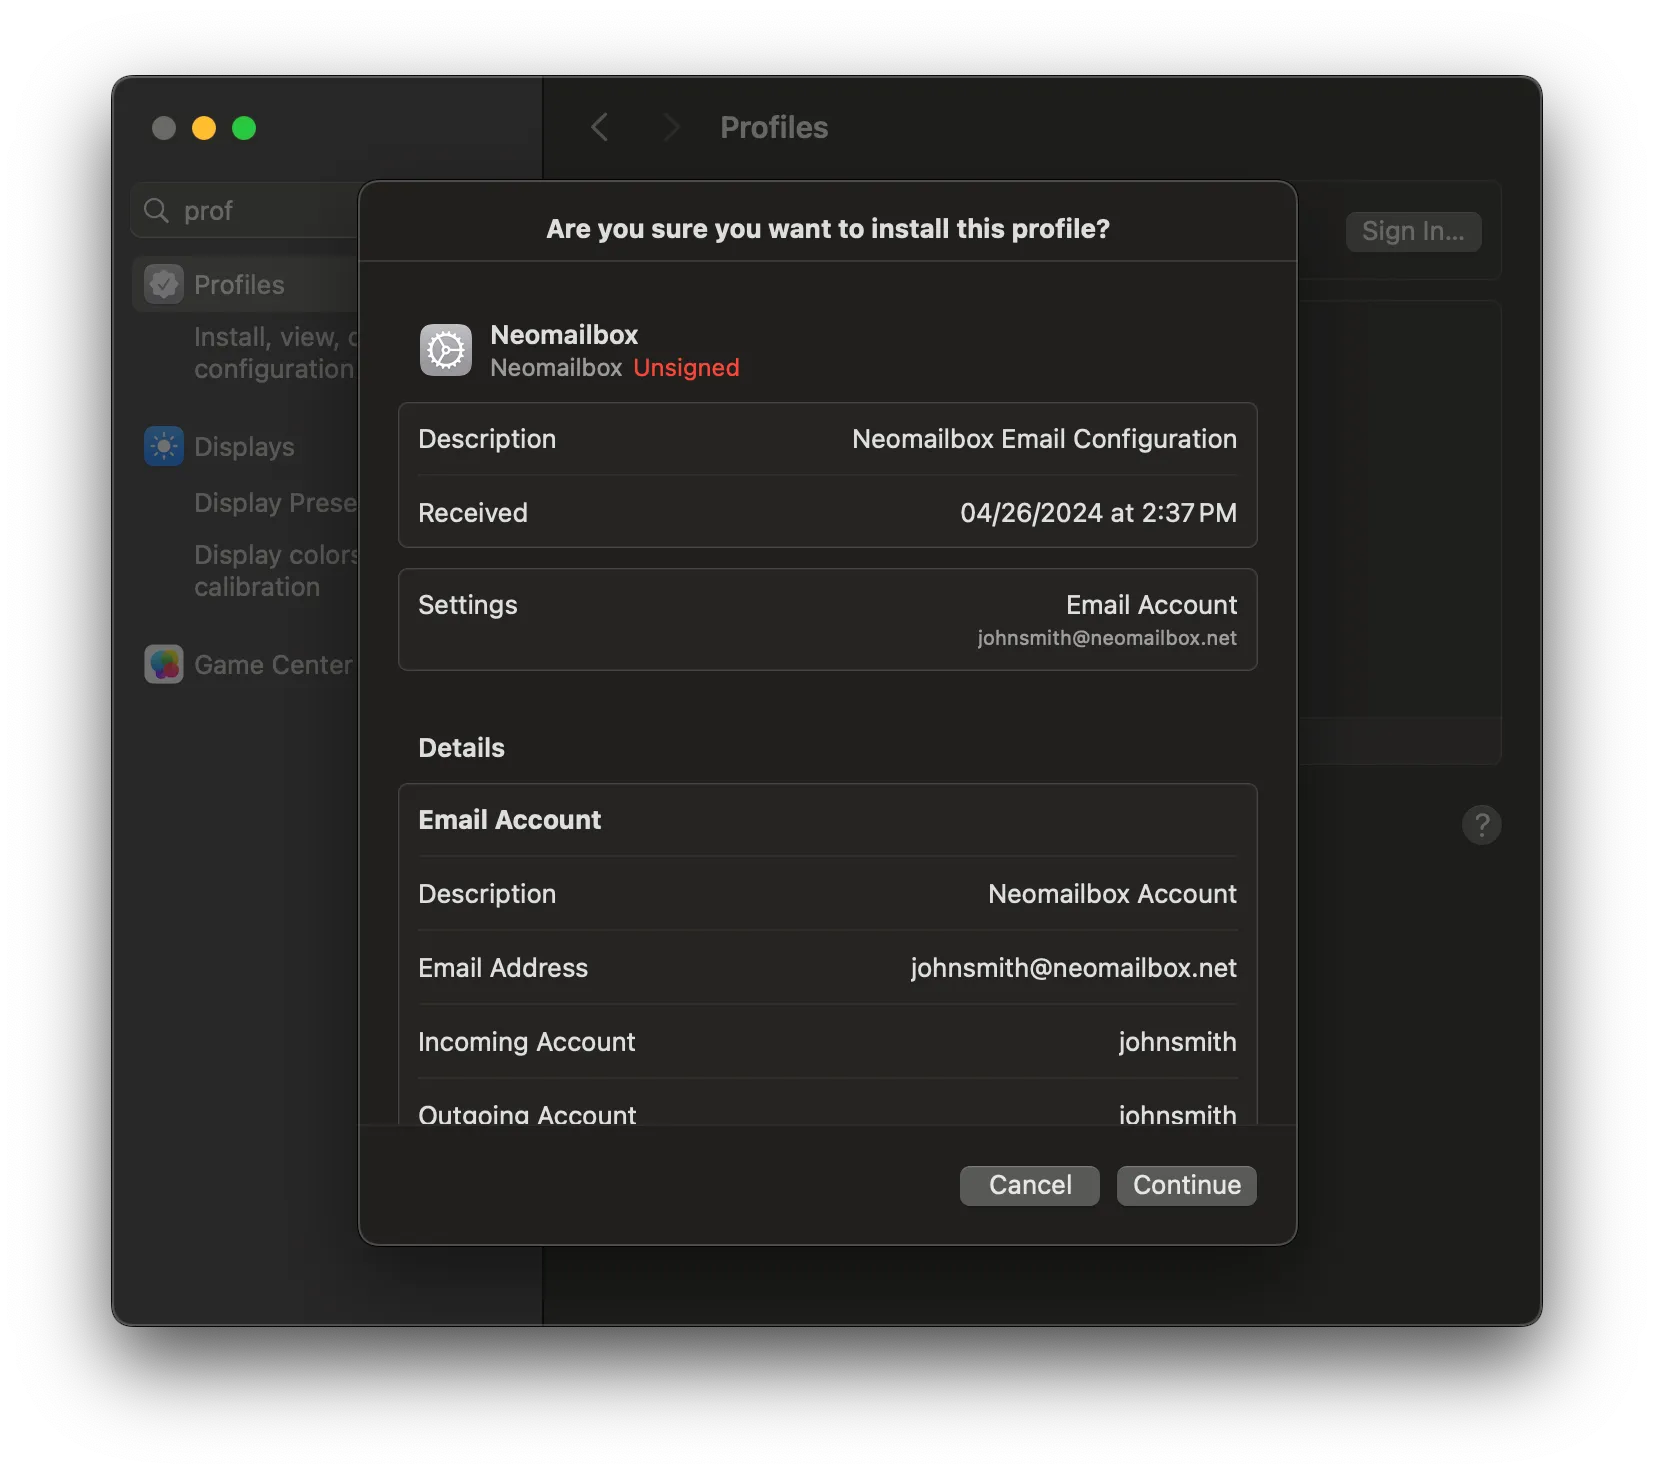
A confirmation dialog will pop up, as below. Click Continue.
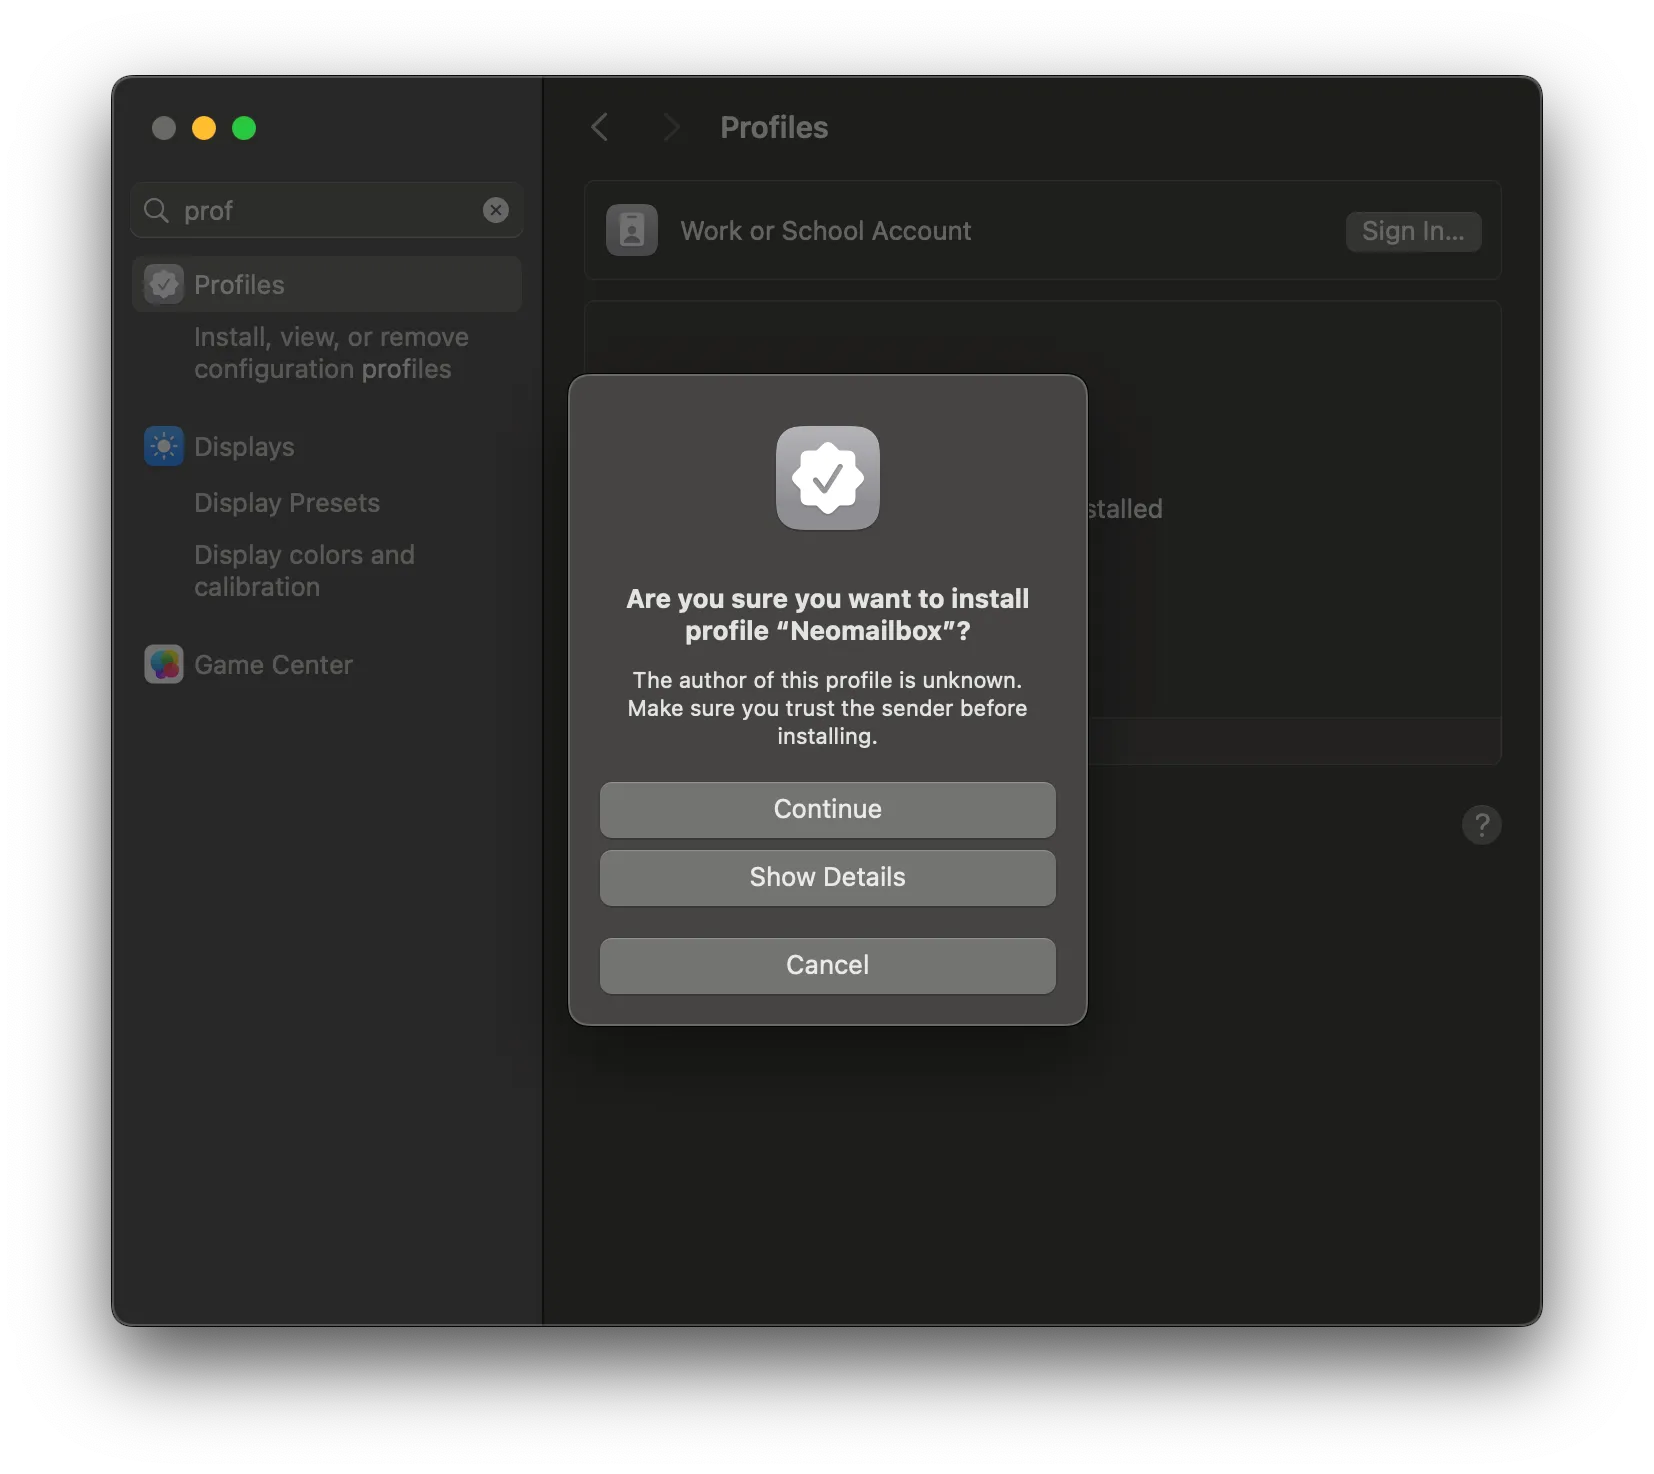
A second confirmation dialog will pop up, as below. Click Continue again.
A settings dialog will appear, as below. Type in a full name as you'd like it to appear in the "From" header of your outgoing emails, and the IMAP (Incoming Server) and SMTP (Outgoing Server) passwords for your Neomailbox account. Then click Install.

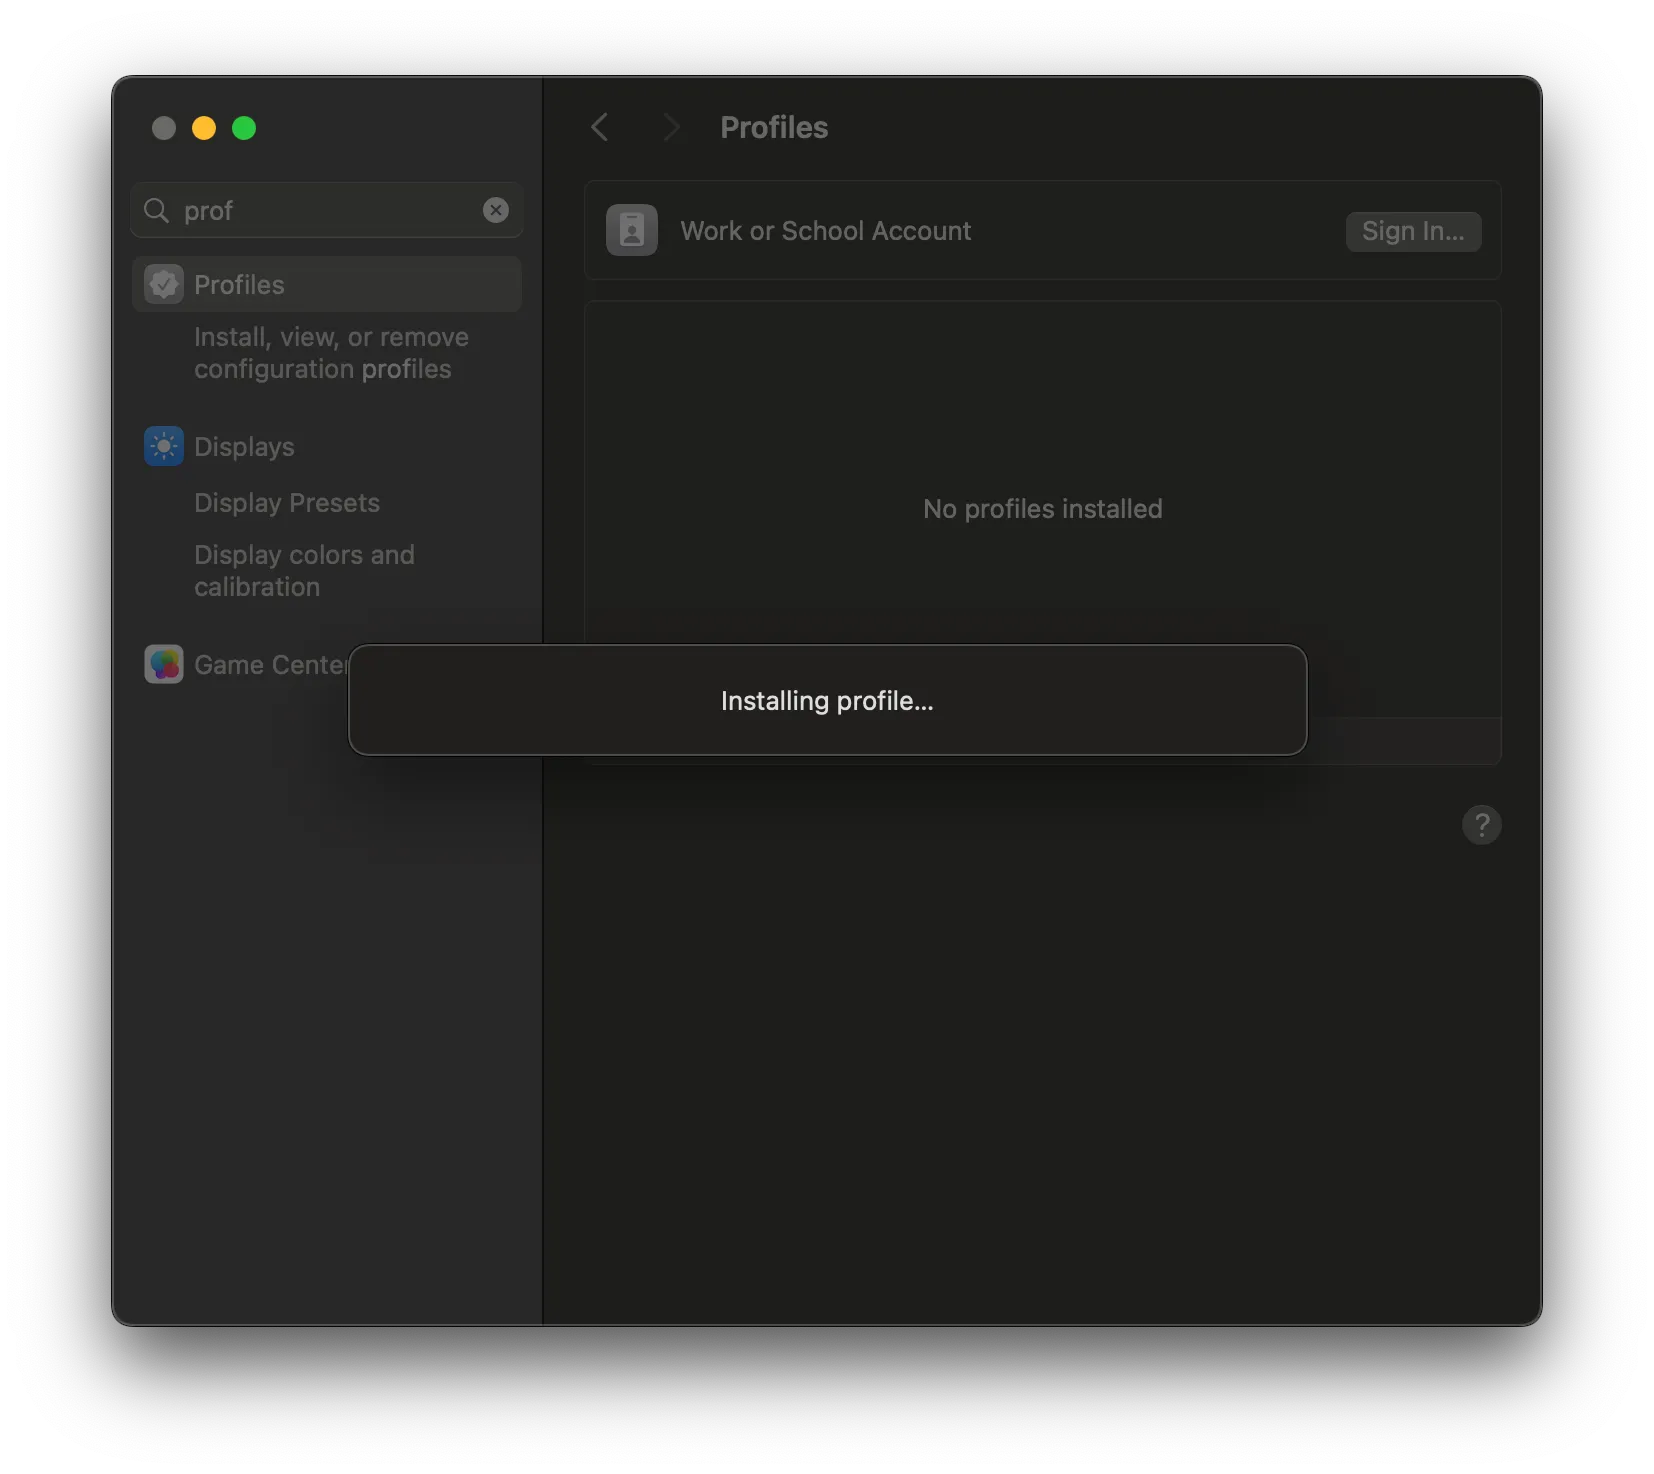
An "Installing profile" message will appear briefly, as below.
Once the profile is installed, it will appear in the Profiles pane, as below.
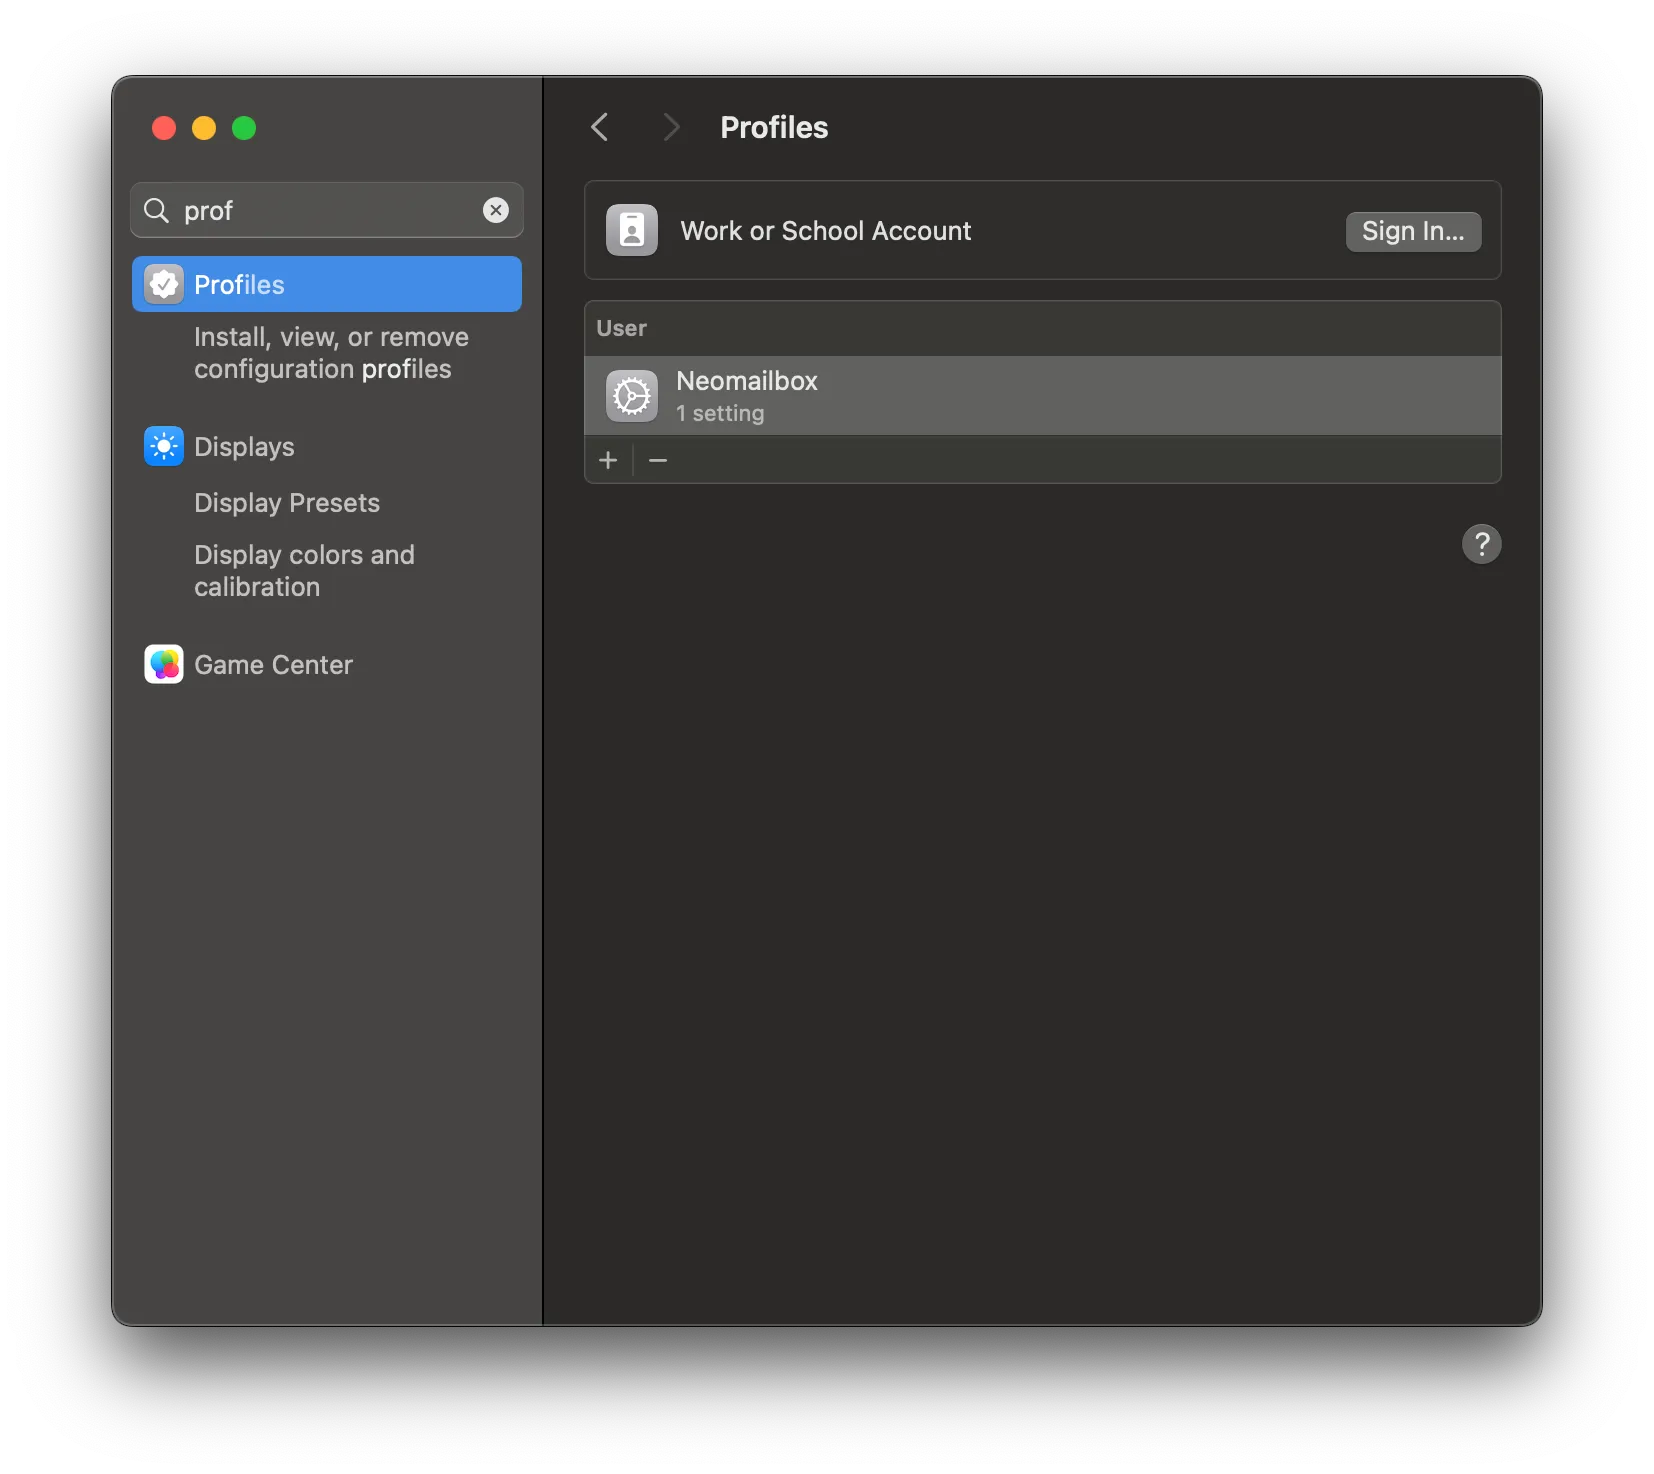
Now you can start Mail, and your Neomailbox account will be set up and ready to use.
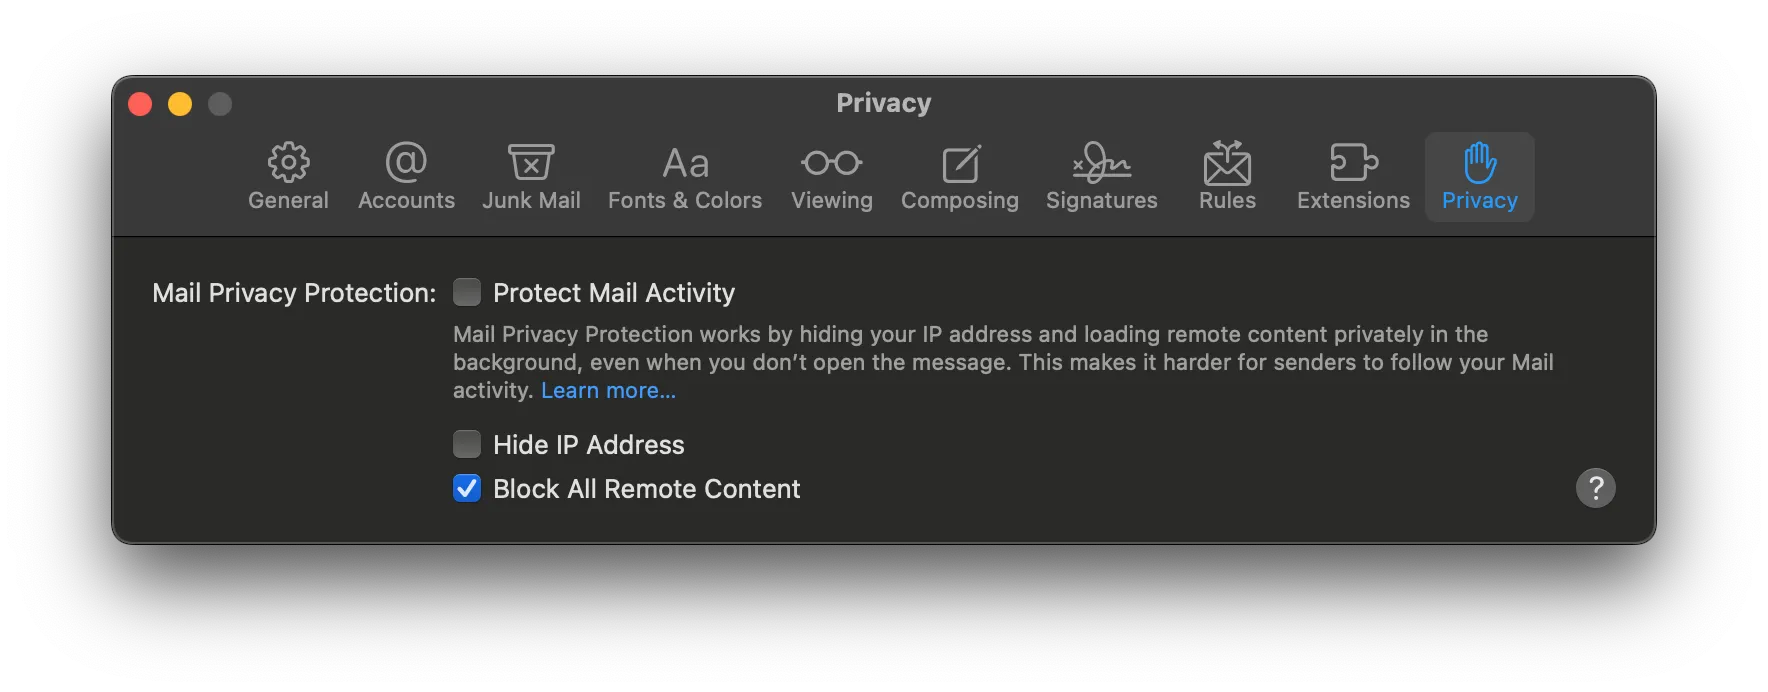
To adequately protect your privacy while reading mail, you should also make some changes to Mail's settings.
Click on Settings under Mail in the menu bar, and then on the Privacy tab in the Settings window. Disable the checkboxes for "Protect Mail Activity" (a very misleading label) and "Hide IP Address" (also not quite what the label implies) and enable the checkbox for "Block All Remote Content".
That's it! You're all set up to receive and send mail securely using macOS Mail and your Neomailbox account.
If you ever want to remove your Neomailbox account from your Mac, this is also easy to do, as below:
First, quit Mail. Then, go to the Profiles section in System Settings, as outlined in the first steps above. Select the Neomailbox profile, then click the '-' button below it. A confirmation dialog will pop up, as below.
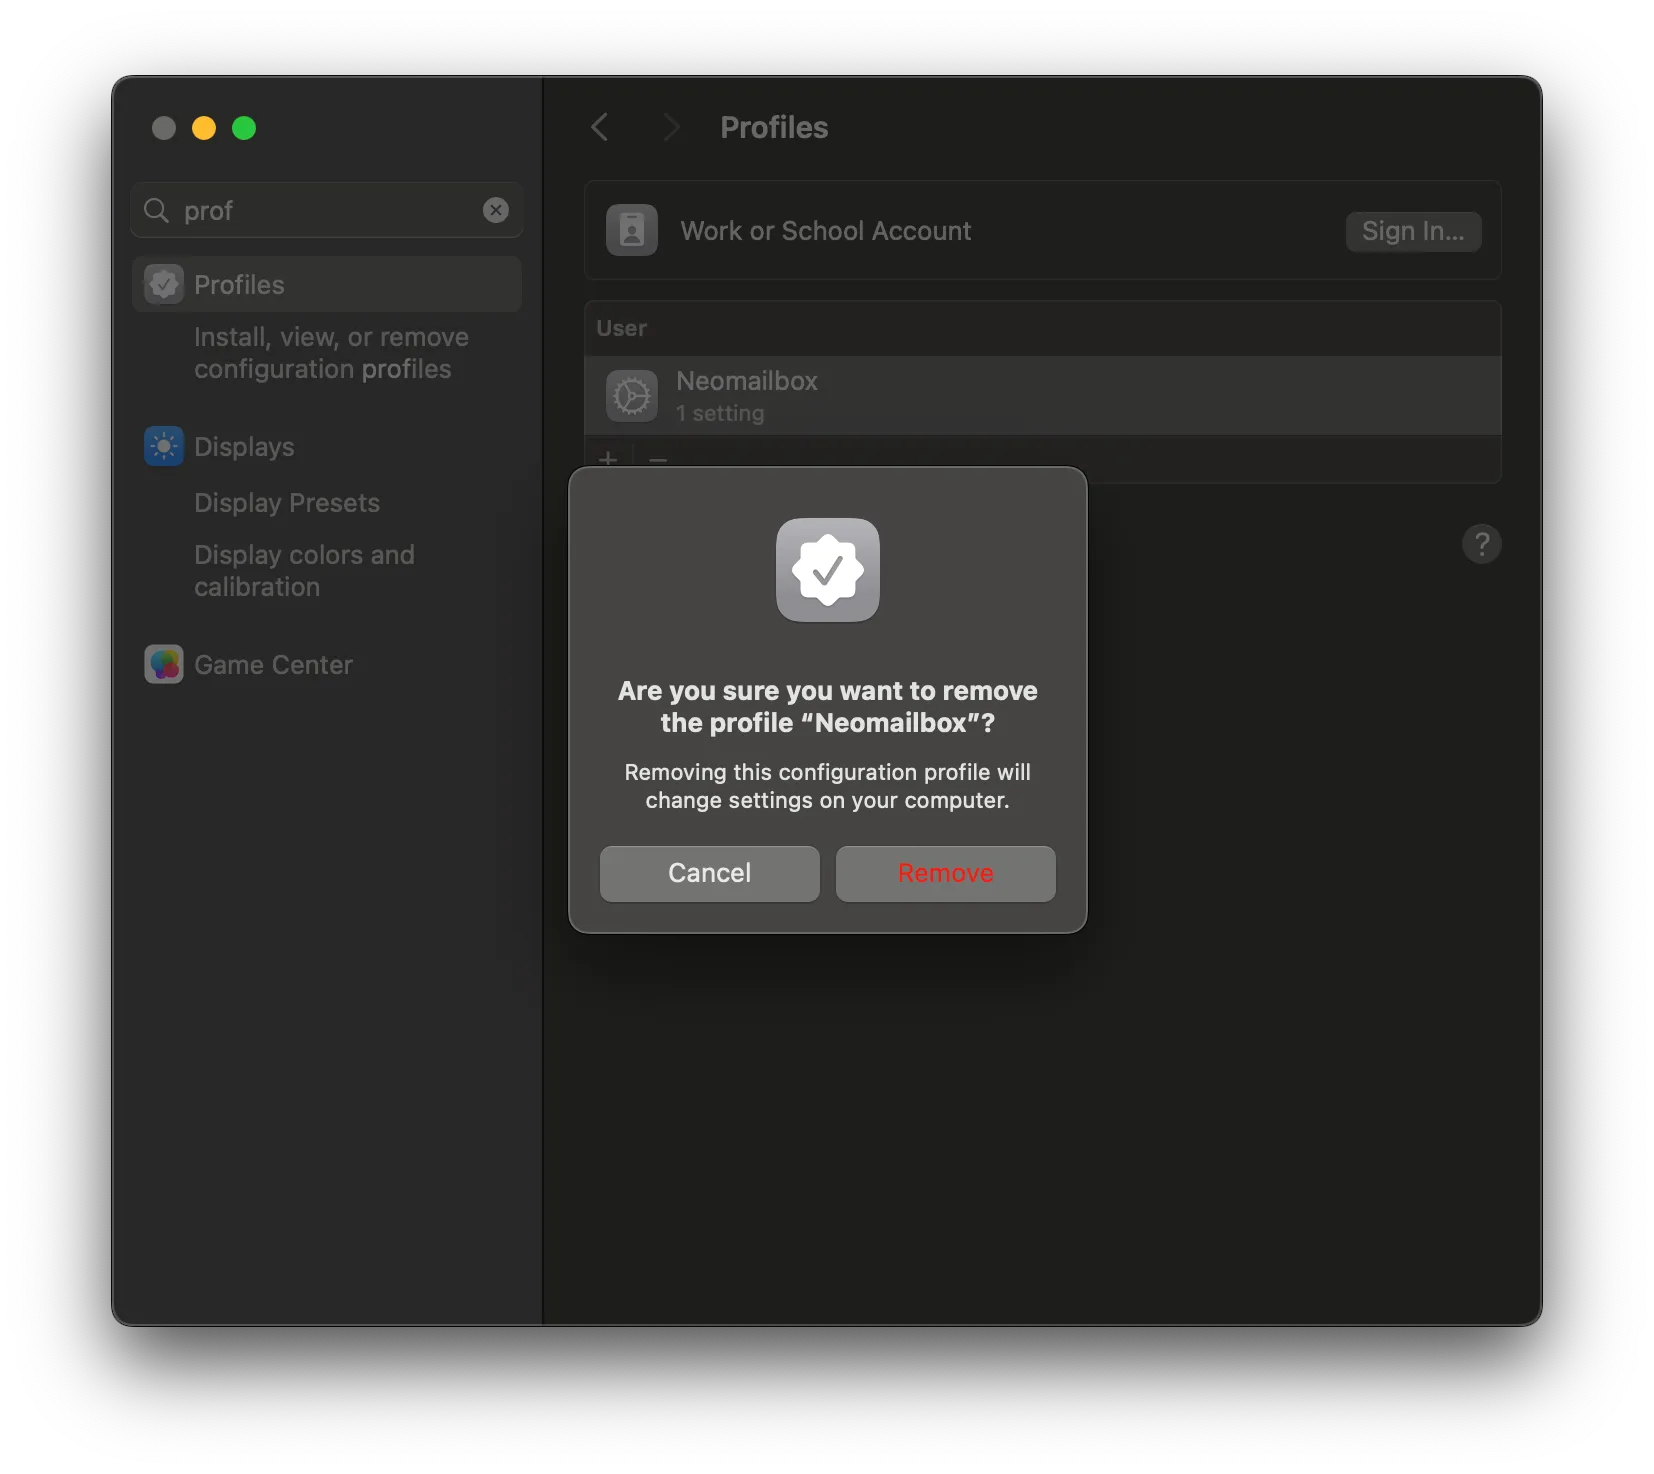
Click Remove, and the Neomailbox account will be removed from Mail.
When you'd like to add it back, you can just repeat the installation steps above.
If you have any trouble with getting your Neomailbox account set up on macOS Mail, just contact us and we'll be happy to help.