Secure IMAP / SMTP with Mail on iOS
Follow this 8-step guide to set up Mail on iOS with Secure IMAP and SMTP.
These steps can be followed to set up Mail on an iPhone or iPod touch, as well as on an iPad, though the screens will look somewhat different on an iPad.
First, launch Safari, and download the Apple Mail Auto Configuration Profile (a file named neomailbox.mobileconfig) from the Neomailbox Control Panel of the account you want to set up in Mail. To download the file, click the Download link next to Apple Mail Configuration Profile.
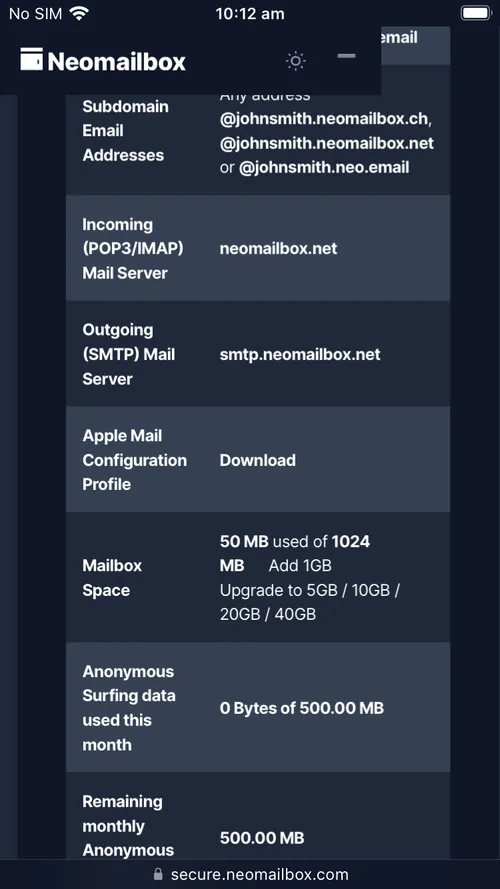
A pop-up dialog will appear, asking you to confirm the download. Click Allow.
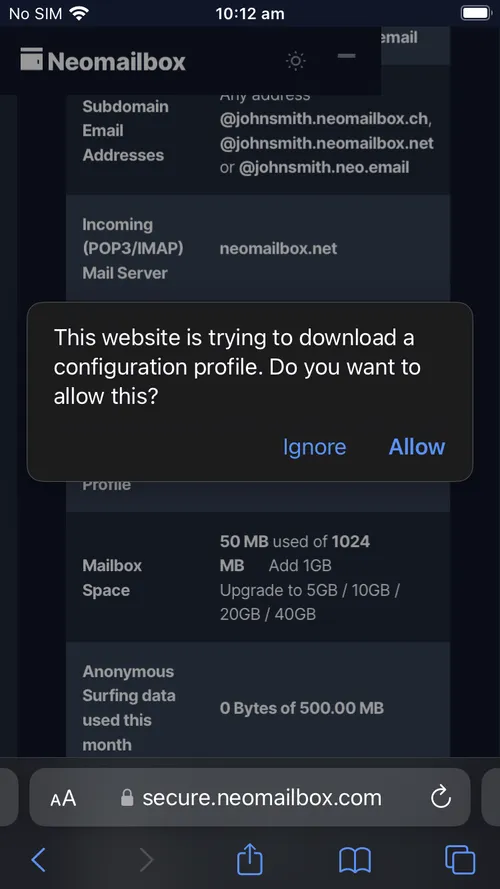
A pop-up will confirm the profile was downloaded. Click Close.
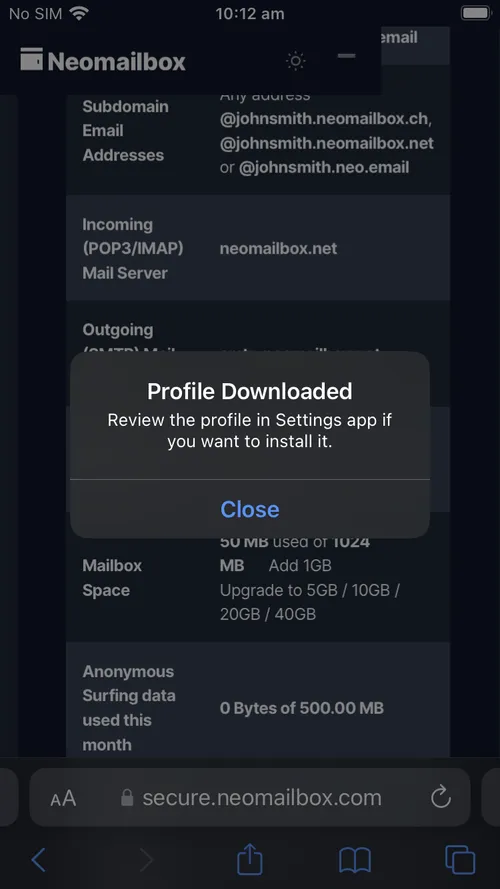
Quit Mail before starting the installation procedure.
Open the Settings app and click on "General".
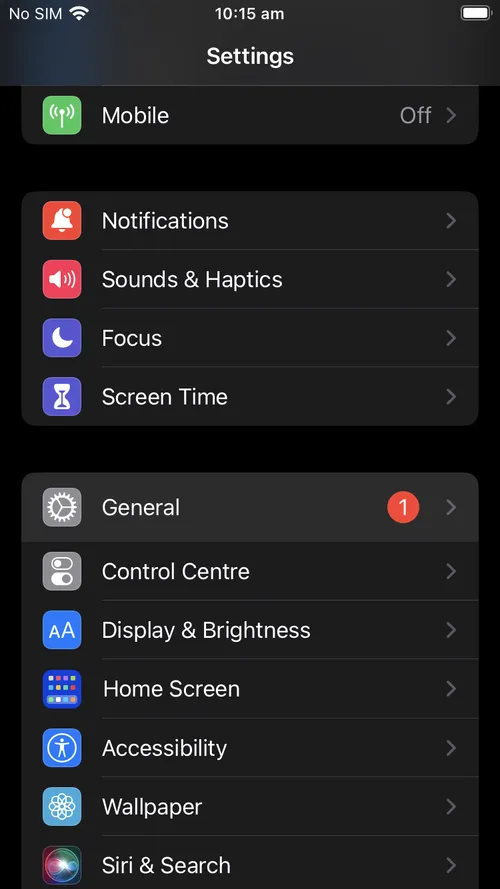
Click on "VPN & Device Management".
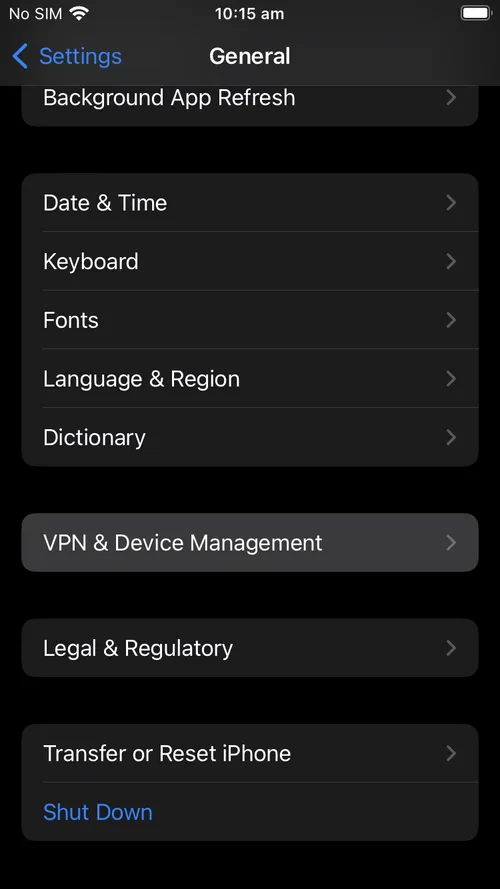
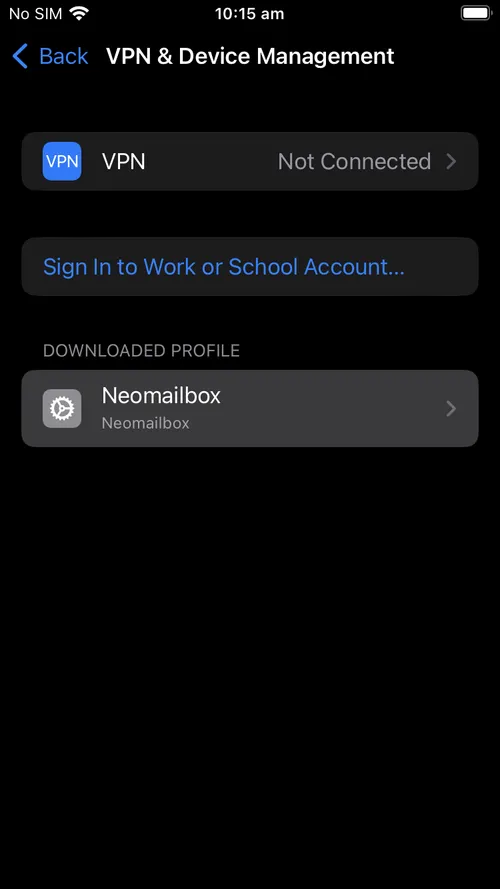
Click on Neomailbox under Downloaded Profile.
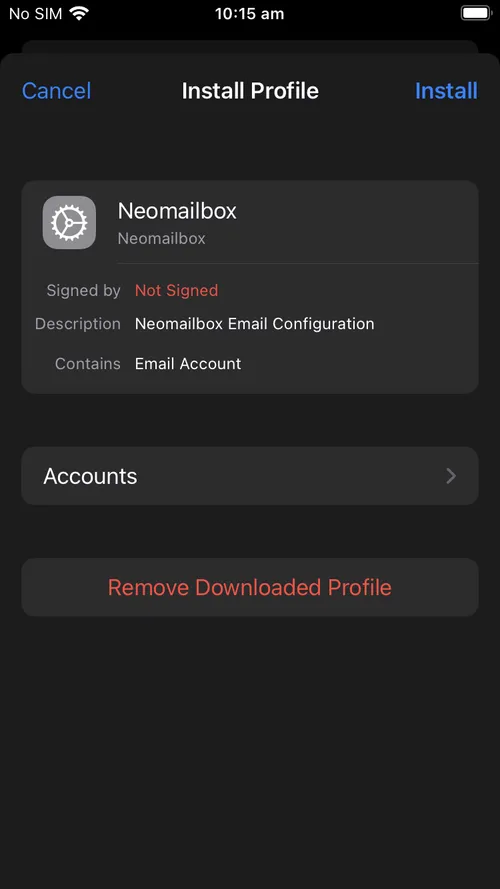
The Install Profile dialog will appear. Click on Install.
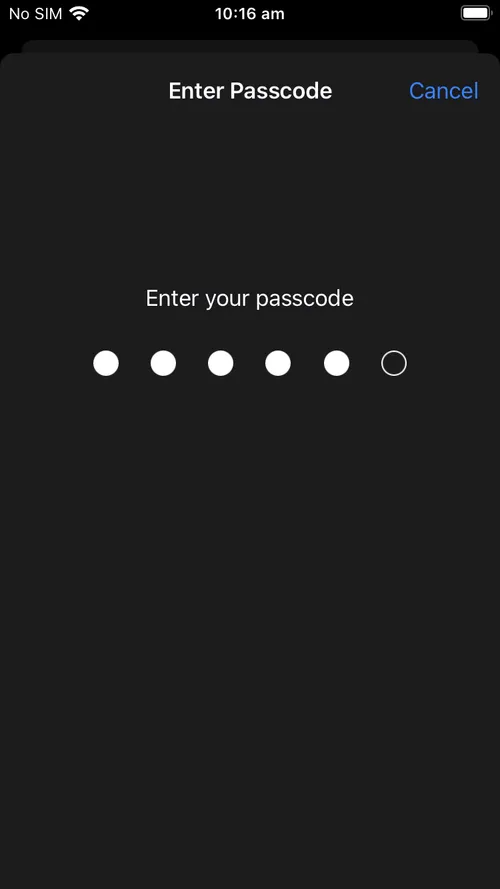
A passcode prompt will appear. Enter your phone's unlock passcode.
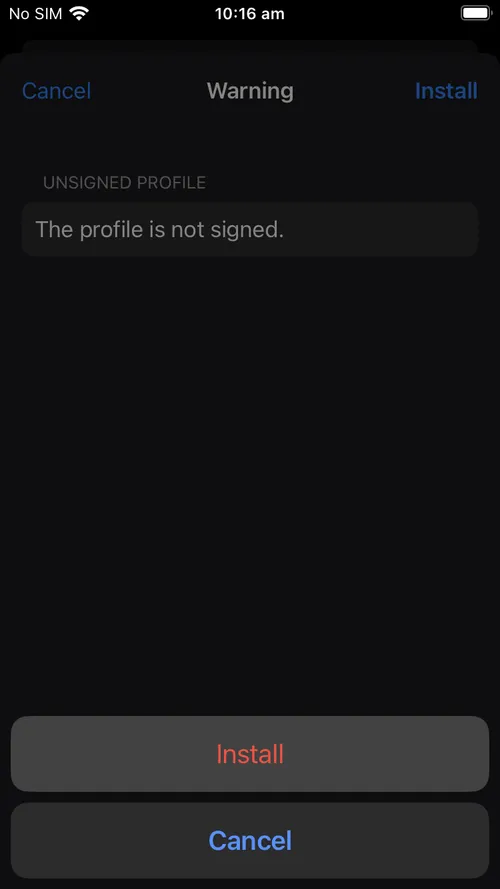
A confirmation dialog will pop up, as below. Click Install.

An Install button will pop up, as below. Click Install.
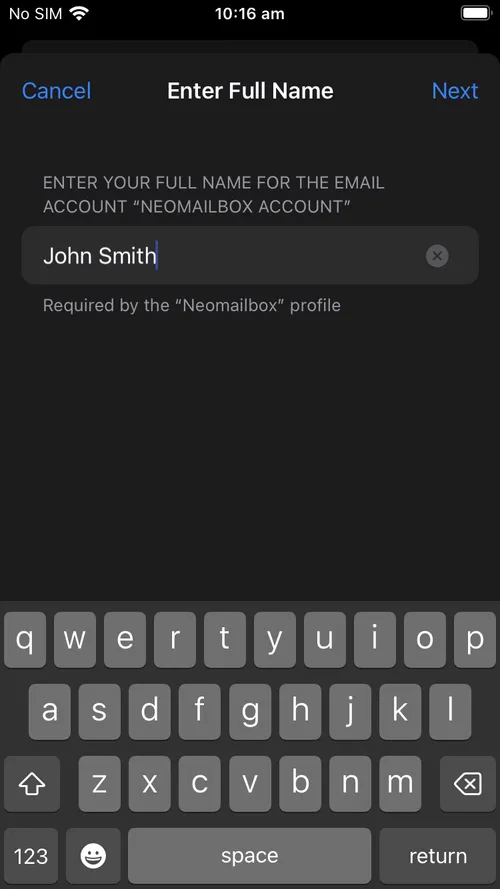
A form field will appear to enter a Full Name. Enter a name as you'd like it to appear in the "From" header of outgoing emails.
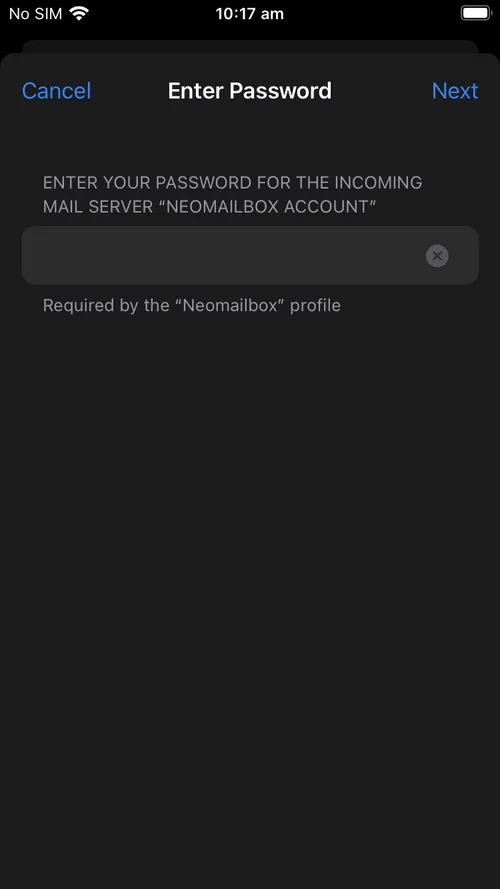
A form field will appear to enter the Incoming Mail Server password. Enter your Neomailbox IMAP/POP3 password.
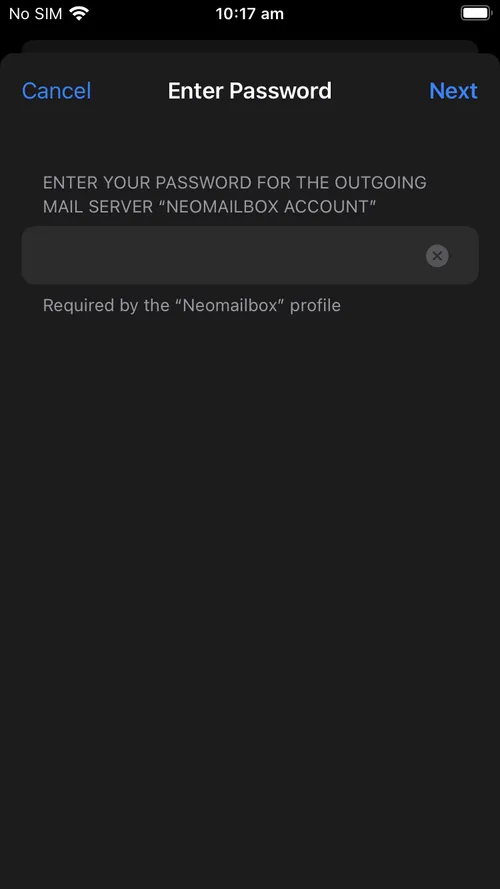
A form field will appear to enter the Outgoing Mail Server password. Enter your Neomailbox SMTP password.
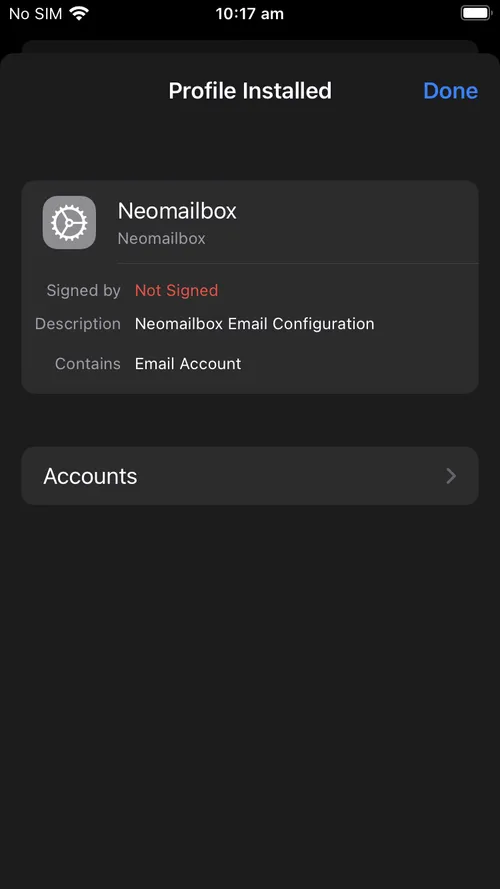
A "Profile Installed" confirmation will appear. Click Done.
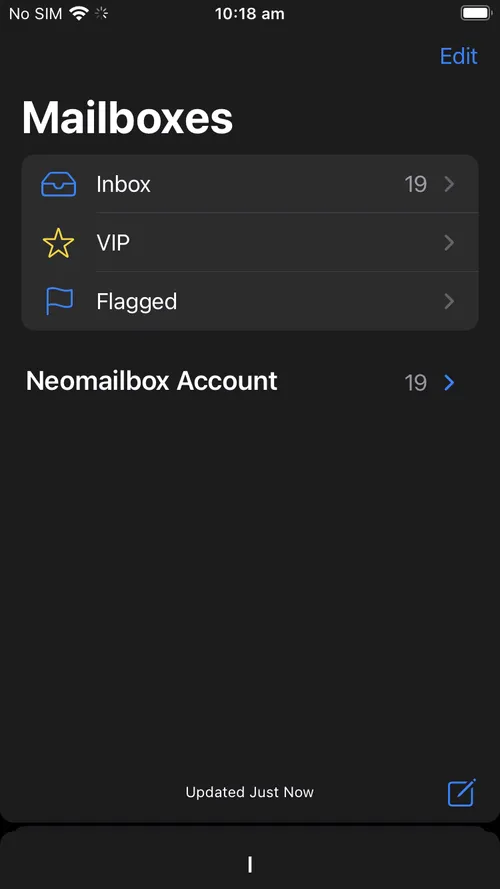
Now you can start Mail, and your Neomailbox account will be set up and ready to use.
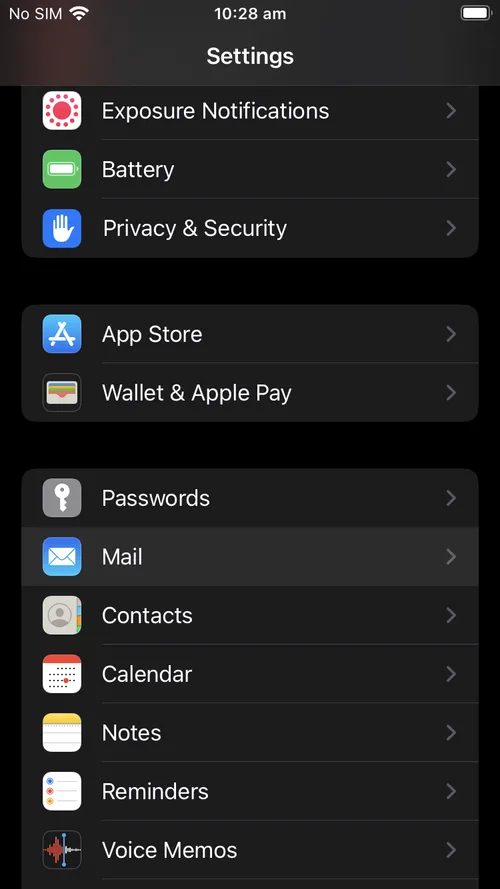
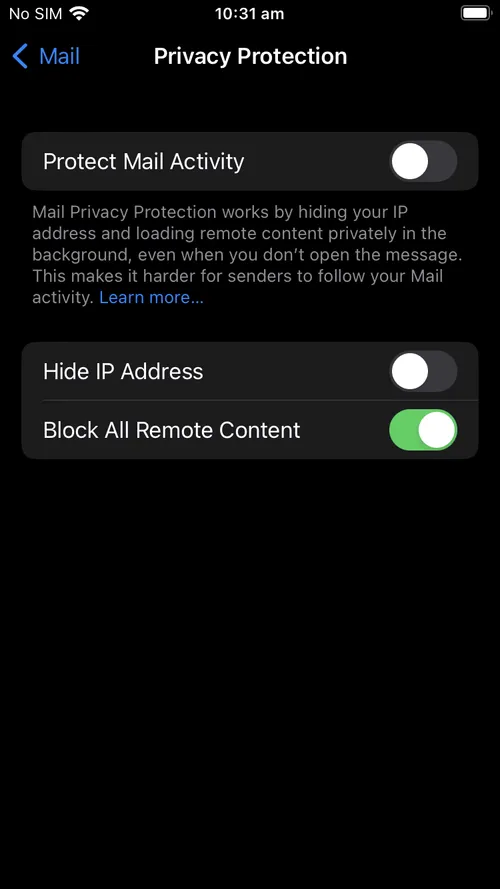
To adequately protect your privacy while reading mail, you should also make some changes to Mail's settings. Go back to the main screen of the Settings app and click on Mail.
Click on Privacy Protection.
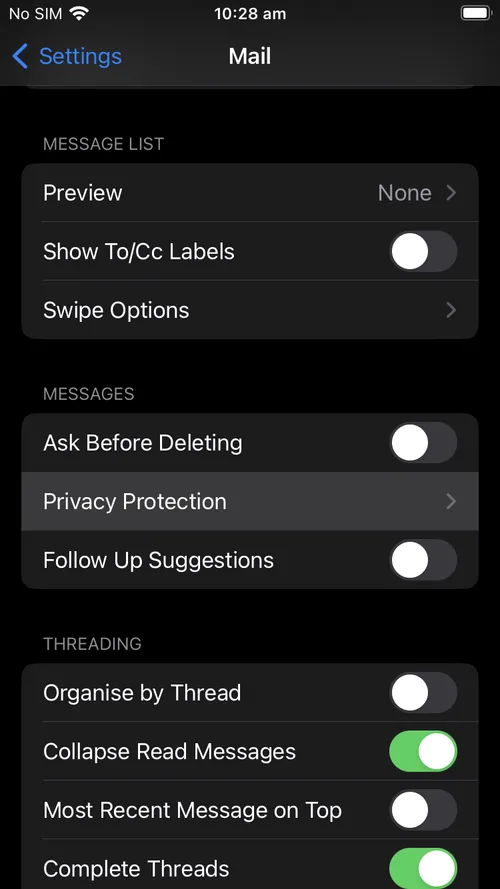
Disable the switches for "Protect Mail Activity" (a very misleading label) and "Hide IP Address" (also not quite what the label implies) and enable the checkbox for "Block All Remote Content".
That's it! You're all set up to receive and send mail securely using iOS Mail and your Neomailbox account.
If you ever want to remove your Neomailbox account from your device, this is also easy to do, as below:
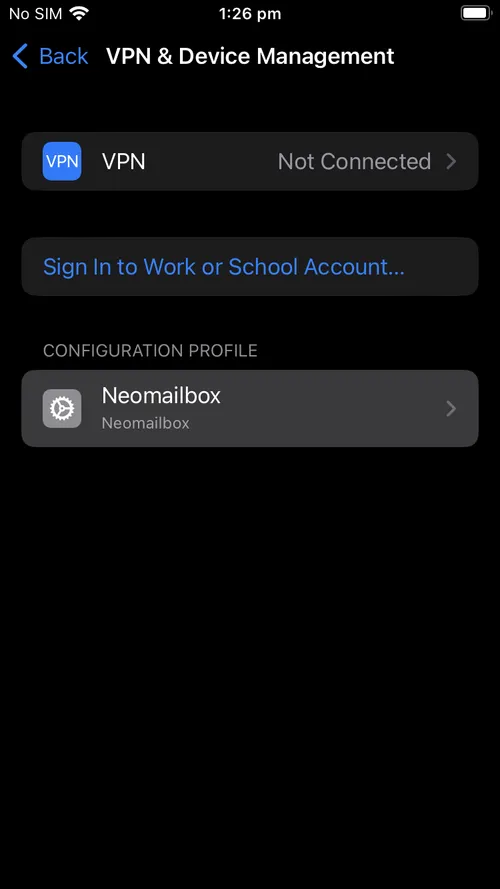
First, quit Mail. Then, open the Settings app and go to General > VPN & Device Management, as outlined in the first steps above. Select the Neomailbox profile.
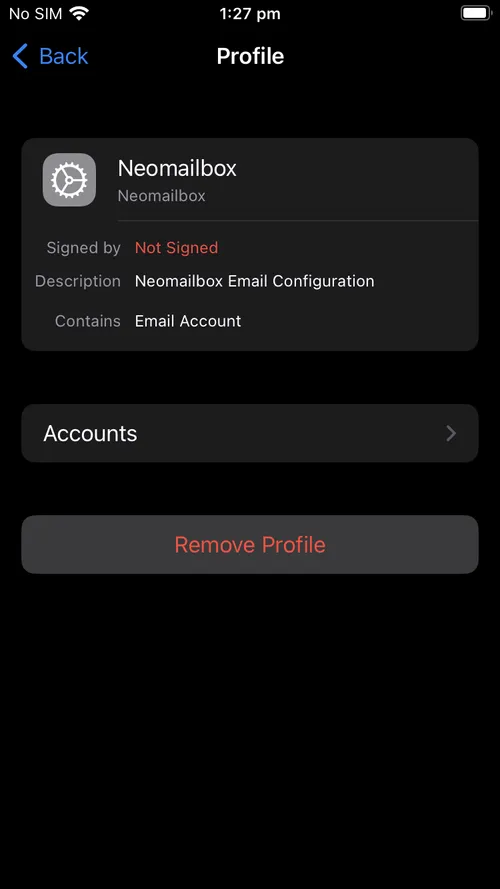
The Neomailbox profile details will appear. Click Remove Profile.
A passcode prompt will appear. Enter your phone's unlock passcode.

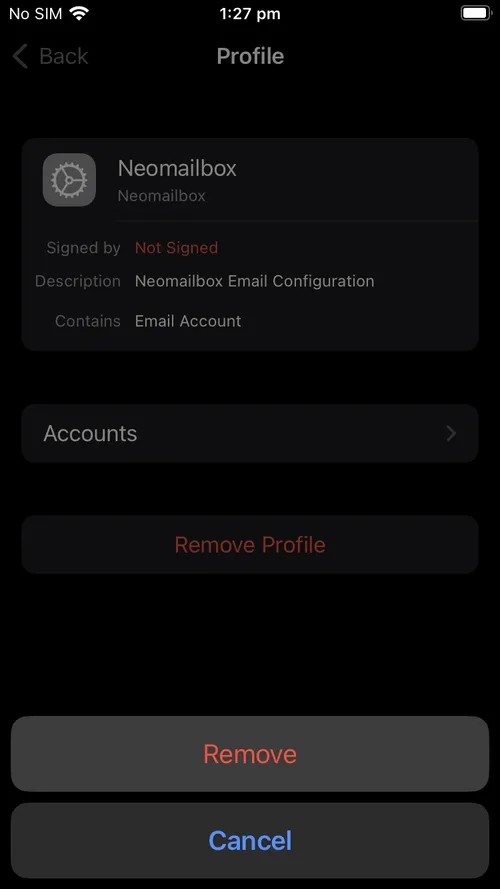
A Remove button will pop up, as below. Click Remove, and the Neomailbox account will be removed from Mail.
When you'd like to add it back, you can just repeat the installation steps above.
If you have any trouble with getting your Neomailbox account set up on iOS Mail, just contact us and we'll be happy to help.